|
|
Toggle auto-select with move tool |
||
|
|
Select a plane under another selected plane |
||
|
|
(In preview) Add point to curve in Curves panel |
||
|
|
(On image) Set a point to the composite curve |
||
|
|
Play a command |
||
|
|
(Click the action/command) Select discontiguous items of the same kind |
||
|
|
(Click multiple frames) Select/deselect multiple discontiguous frames |
||
|
|
(Click channel thumbnail) Load channel as selection |
||
|
|
(Click Create New Channel button) Create a new spot channel |
||
|
|
(Click layer thumbnail) Load layer transparency as a selection |
||
|
|
(Click New Group button) Create new layer group below current layer/layer set |
||
|
|
(Click Add Layer Mask button) Create vector mask that reveals all/path area |
||
|
|
Select/deselect multiple discontiguous layers |
||
|
|
Select/deselect multiple discontiguous layer comps |
||
|
|
(Click pathname) Load path as selection |
||
|
|
(Click swatch) Set swatch color as background color |
||
|
|
(Green) Select individual channels |
||
|
|
(In Brush Size, Density, Pressure, Rate, or Turbulent Jitter text box) Decrease/increase brush size by 2, or density, pressure, rate, or turbulent jitter by 1 |
||
|
|
Increase/decrease selected value by 1% |
||
|
|
(In Brush Size text box) Increase/decrease brush size by 1 |
||
|
|
(With Brush Size, Density, Pressure, Rate, or Turbulent Jitter slider showing) Decrease/increase brush size by 2, or density, pressure, rate, or turbulent jitter by 1 |
||
|
|
(With Brush Size Slider showing) Decrease/increase brush size by 1 |
||
|
|
Highlight entire image |
||
|
|
Switch to previous document |
||
|
|
Rotate image left |
||
|
|
Move target layer down/up |
||
|
|
Hide path |
||
|
|
(Blue) Select individual channels |
||
|
|
Rotate image right |
||
|
|
Move target layer down/up |
||
|
|
Close a file in Photoshop and open Bridge |
||
|
|
Increase/decrease Adjustment Brush tool flow in increments of 10 |
||
|
|
(Filmstrip mode) Increase/decrease rating |
||
|
or
|
|||
|
|
Apply/cancel an operation of the Magnetic Lasso |
||
|
|
(Filmstrip mode) Add red label |
||
|
|
Choose composite channel for adjustment |
||
|
|
Fill with foreground or background color. Hold down Shift to preserve transparency |
||
|
|
Choose specific channel for adjustment (Red) |
||
|
|
Move selection 10 pixels |
||
|
|
Move selected point in Curves panel (10 units) |
||
|
|
Move the selected point 10 units |
||
|
|
Select 1 character left/right or 1 line down/up, or 1 word left/right |
||
|
|
Increase selection nudging when viewing the original |
||
|
(Double-click the hand tool) Fit image in window |
|||
|
(Double-click the zoom tool) Magnify 100% |
|||
|
(on Hand tool) Fit in view |
|||
|
(on Zoom tool) Zoom to center at 100% |
|||
|
(On the Create Plane tool) Make a full canvas plane, square to the camera |
|||
|
(Magnetic pen tool) Close path |
|||
|
Select a word |
|||
|
(To recorded command) Display Options dialog box for recorded command |
|||
|
(Double click on the brush) Rename brush |
|||
|
(Double click alpha spot or spot channel thumbnail) Display channel options |
|||
|
Rename snapshot |
|||
|
(Double-click layer effect/style) Edit layer effect/style, options |
|||
|
(Double-click the layer) Edit layer style |
|||
|
(Double-click layer mask thumbnail) Open Layer Mask Display Options dialog box |
|||
|
(Double-click type layer thumbnail) Select all type; temporarily select Type tool |
|||
Advertisement |
|||
|
(Double-click the layer name) Rename layer |
|||
|
(Double-click the filter effect) Edit filter settings |
|||
|
(Double-click the Filter Blending icon) Edit the Filter Blending options |
|||
|
(Double-click on the group) Display layer group properties |
|||
|
(Double-click layer comp) Open Layer Comp Options dialog box |
|||
|
(Doubleclick layer comp name) Rename in-line |
|||
|
|
(Filmstrip mode) Add blue label |
||
|
|
(Filmstrip mode) Add green label |
||
|
|
Choose 100% horizontal scale |
||
|
|
Feather Selection |
||
|
or
|
|||
|
|
Toggle (backward) between Standard screen mode, Full screen mode with menu bar, and Full screen mode |
||
|
|
Cycle (backward) through preview modes |
||
|
|
Cycle through Display menu in preview from bottom to top |
||
|
|
Open the Refine Edge dialog box |
||
|
|
(Filmstrip mode) Add yellow label |
||
|
|
Create a floating selection from the current selection |
||
|
|
Free transform with duplicate data |
||
|
|
Toggle layer mask on/off as rubylith (layer mask must be selected) |
||
|
|
Toggle rubylith mode for layer mask on/off |
||
|
|
Toggle between Refine Radius and Erase Refinements tools |
||
|
|
(Click on brush or swatch) Delete brush or swatch |
||
|
|
(click on a tool, except Add Anchor Point, Delete Anchor Point, and Convert Point tools) Cycle through hidden tools |
||
|
|
(Click on a filter) Apply a new filter on top of selected |
||
|
|
(Click a disclosure triangle) Open/close all disclosure triangles |
||
|
|
(On the field) Toggle grid size |
||
|
|
(Direct selection tool) Select entire path |
||
|
|
(Eyedropper tool) Select background color |
||
|
|
(Color sampler tool) Deletes color sampler |
||
|
|
(Click the check mark next to a command) Turn command on and all others off, or turn all commands on |
||
|
|
Turn current modal control on and toggle all other modal controls |
||
|
|
(To triangle) Collapse/expand all components of an action |
||
|
|
(Click the New Action button) Create new action and begin recording without confirmation |
||
|
|
(To Auto button) Define Auto options for Levels or Curves |
||
|
|
(Click on the brush) Delete brush |
||
|
|
(Click Save Selection As Channel button) Set options for Save Selection As Channel button |
||
|
|
(Click color in color bar) Select background color |
||
|
|
(Click the image state) Duplicate any image state, except the current state |
||
|
|
(Click New Layer button) Create new empty layer with dialog box |
||
|
|
(Click layer mask thumbnail) Toggle between layer mask/composite image |
||
|
|
(Click filter mask thumbnail) Toggle between filter mask/composite image |
||
|
|
(Click the line dividing two layers) Create a clipping mask |
||
|
|
(Click New Group button) Create new layer group with dialog box |
||
|
|
(Click Add Layer Mask button) Create layer mask that hides all/selection |
||
|
|
(Click Create New Layer Comp button) Create new layer comp without the New Layer Comp box |
||
|
|
Set options for Fill Path with Foreground Color button, Stroke Path with Brush button, Load Path as a Selection button, Make Work Path from Selection button, and Create New Path button |
||
|
|
(Click swatch) Delete swatch |
||
|
|
Choose specific channel for adjustment (Green) |
||
|
|
Reapply last-used filter |
||
|
|
Inverse Selection |
||
|
|
New layer via cut |
||
|
|
Justify paragraph, left aligns last line |
||
|
|
New layer via cut |
||
|
|
Enable Cleanup and Edge Touchup tools before preview |
||
| + |
Change the values of the closest color slider |
||
|
|
(Any painting or editing tool + number keys) Sets opacity, tolerance, strength, or exposure for painting mode |
||
|
|
Mixer Brush changes Wet setting |
||
|
|
Choose specific channel for adjustment (Blue) |
||
|
|
Set strength of Cleanup or Edge Touch‑up tool |
||
|
|
First Brush |
||
|
|
Last Brush |
||
|
|
Toggle composite and grayscale mask in Quick Mask mode |
||
|
|
Choose 0 for tracking |
||
|
|
Move layer 1 pixel when nothing selected on layer. Hold down Shift to move 10 pixels |
||
|
|
Display precise cross hair for brushes |
||
|
|
Create/release clipping mask |
||
|
|
Increase/decrease selected value by 10% |
||
|
|
Screen |
||
|
|
(Sponge tool) Saturate |
||
|
|
(Dodge tool/Burn tool) Dodge/burn shadows |
||
|
|
Increase/decrease selected values by 10 |
||
|
|
Basic panel |
||
|
|
Switch to Zoom Out tool |
||
|
|
Tone Curve panel |
||
|
|
Open Fill dialog box on background or standard layer |
||
|
|
Displays Fill dialog box |
||
|
|
Saturation |
||
|
|
Move layer to bottom or top |
||
|
|
Hard Mix |
||
|
|
Color |
||
|
|
Move layer to bottom or top |
||
|
|
Decrease brush hardness (Brush, Stamp tools) |
||
|
|
Increase/decrease brush feather |
||
|
|
Select top layer |
||
|
|
Increase/decrease temporary Adjustment Brush tool flow in increments of 10 |
||
|
|
Color Dodge |
||
|
|
(Sponge tool) Desaturate |
||
|
|
Load channel as selection (red) |
||
|
|
Remove current highlight |
||
|
|
Detail panel |
||
|
|
Linear Burn |
||
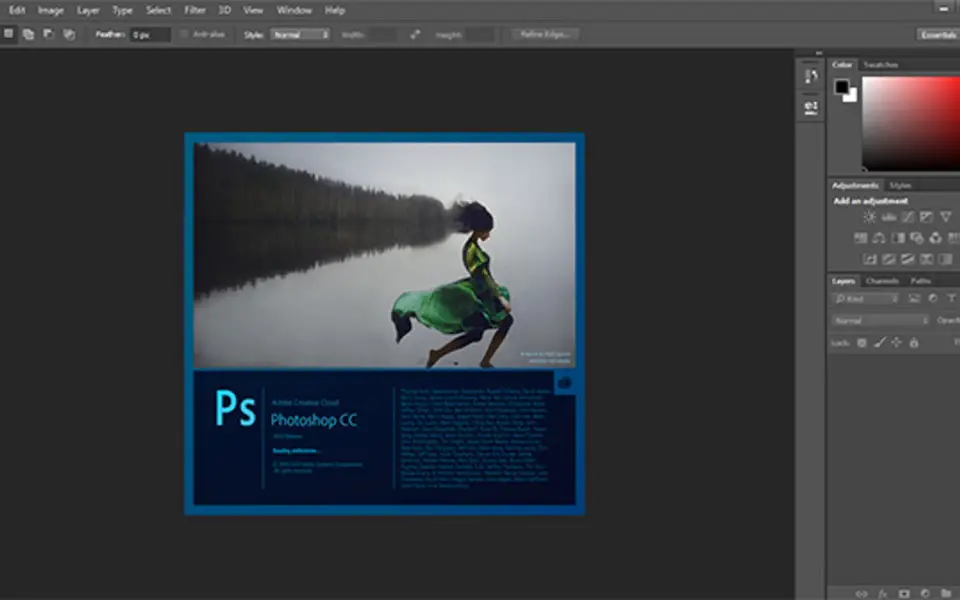
Adobe Photoshop CC keyboard shortcuts
Adobe Photoshop CC
Suggestion: This program has lots of (593) shortcuts. Try our shortened list of
20 basic Adobe Photoshop CC shortcuts if you just want to get started.
This shortcut list is sorted by user, meaning that original structure (headings) is disregarded. You can see the original page here:
Adobe Photoshop CC keyboard shortcuts.
Table of contents
Advertisement
Program information
Program name:

Web page: adobe.com/products/photoshop.h...
Last update: 20/5/2020 18:47 UTC
How easy to press shortcuts: 81%
More information >>Featured shortcut
Similar programs
Tools
Adobe Photoshop CC:Learn: Jump to a random shortcut
Hardest shortcut of Adobe Photoshop...
Other


What is your favorite Adobe Photoshop CC hotkey? Do you have any useful tips for it? Let other users know below.
1108668
499007
411655
367529
307784
278296
6 hours ago
11 hours ago Updated!
Yesterday Updated!
Yesterday
Yesterday
3 days ago
Latest articles