|
|
Move camera forward |
||
|
or
|
|||
|
|
Move camera backward |
||
|
or
|
|||
|
|
Move camera left |
||
|
or
|
|||
|
|
Move camera right |
||
|
or
|
|||
|
|
Move camera up |
||
|
|
Move camera down |
||
|
|
Move camera very slowly |
||
|
or
|
|||
|
or
|
|||
|
or
|
|||
|
or
|
|||
|
or
|
|||
|
|
Move camera faster |
||
|
or
|
|||
|
or
|
|||
|
or
|
|||
|
or
|
|||
|
or
|
|||
|
|
Move camera very fast |
||
|
or
|
|||
|
or
|
|||
|
or
|
|||
|
or
|
|||
|
or
|
|||
| + |
Look around |
||
| + |
Pan camera |
||
|
|
Pan camera very slowly |
||
|
|
Pan camera faster |
||
|
|
Pan camera very fast |
||
|
Move camera forwards / backwards |
|||
|
|
Reset camera pitch to horizontal viewpoint |
||
|
|
Orbit camera. Move the camera so that the crosshairs [ ] are placed at the point on a model that you want to orbit around |
||
| + |
(double-click on models) Instantly teleport to the position that you clicked on |
||
| + |
(double-click on models) Instantly move the camera to the model that you clicked on |
Advertisement
|
|
Editor Quality: 1 Star (All shadow types and some Movie Effects off). |
||
|
|
Editor Quality: 2 Stars (Lumion Landscape shadows and OmniShadow off). |
||
|
|
Editor Quality: 3 Stars (Lumion Landscape shadows off). |
||
|
|
Editor Quality: 4 Stars (Highest quality level. Everything on). |
||
|
|
Toggle between automatic and manual update of the High-Quality Preview. |
||
|
|
Hold down this key to temporarily show the shadows from Spotlights. |
||
|
|
Toggle between low-quality and high-quality trees and plants. |
||
|
|
Toggle between Build Mode and Theater Mode. Theater Mode hides the user interface in Build Mode. |
||
|
Press
|
|||
|
|
Save up to 10 camera viewpoints in Photo Set 1 in Photo Mode. When using MyLumion, the Photos are saved only for MyLumion Panorama Viewpoints |
||
|
|
Load previously saved camera Viewpoints. The saved slots are also available as easily accessible thumbnail images in Photo Set 1 in Photo Mode |
Place button |
|||
|
Place a copy of the selected model from the Model Library |
|||
|
|
Place a new model with +/-0 to 50% random scale |
||
Place button -> Mass Placement function |
|||
|
|
Accept current Line and start a new Line |
||
|
|
Add a point to the current Line |
||
|
Remove a point from the current Line |
|||
Advertisement |
|||
Place button -> Cluster Placement function |
|||
|
|
Cluster Placement: Place 10 copies of the selected model from the Model Library at random positions |
||
|
|
Cluster Placement with random size: Place 10 copies of the selected model from the Model Library at random positions with +/-0 to 50% random size |
||
Select button |
|||
|
|
Rectangular selection tool for selecting multiple objects. |
||
|
|
(click on an Object Selection icon) Select/De-select an object from the current selection. |
||
|
|
(click anywhere) De-select all objects. |
||
|
|
Add new rectangular selection to existing selection. |
||
Move free, Move up and Move horizontal buttons |
|||
|
|
Duplicate selected object(s). |
||
|
|
Move the selected object(s) up or down. |
||
|
|
Move the selected object(s) along the X axis. This also applies to the Move and Advanced Move Effects in Movie Mode. |
||
|
|
Move the selected object(s) along the Z axis. This also applies to the Move and Advanced Move Effects in Movie Mode. |
||
|
Place, Move free, Move up and Move horizontal buttons:
|
|||
|
|
Place or move object(s) to make them snap to the Lumion Terrain while ignoring all other object types. |
||
|
|
Place or move object(s) to make their orientation adapt to the surface below them, provided that the surface is facing the sky, i.e. less than 90 degree angles. Trees and plants are not affected by this function. |
||
|
|
Place or move object(s) horizontally with snapping turned off. |
||
Rotate |
|||
|
|
Change the heading of the selected object(s). |
||
|
|
(when rotating selected objects) Temporarily turn the 45 degree angle snapping off. |
||
|
F + Rotate selected object(s) + Move the mouse cursor to another surface: The heading of the selected objects will match the orientation of the surface below the mouse cursor
|
|||
|
K + Rotate selected object(s): Make all of the objects face the mouse cursor.
|
|||
|
Scale
|
|||
|
|
Scale (size) an object using the mouse. |
||
|
|
Use these keys to save up to 10 camera Viewpoints in Photo Set 1 while editing a camera animation in a Clip. |
||
|
|
Load previously saved camera Viewpoints. The saved slots are also available as easily accessible thumbnail images in Photo Set 1 in Photo Mode. |
||
|
|
(while rendering) While rendering, hold down this key to show the frames per second. |
||
|
|
(while mouse cursor is over the Timeline Slider) The frame count can now be displayed above the Timeline by pressing the CTRL key whilst the mouse is over the Timeline Slider. If you select to render to a frame range, the Timeline Slider displays the frame count by default, until you choose to render with another option. Whilst using the frame range option, you can toggle the display to show the seconds counter using the CTRL key whilst the mouse cursor is over the Timeline Slider. |
||
Mass Move Effect |
|||
|
|
Add a Node to the current Path. |
||
|
Remove a Node from the current Path. |
|||
|
|
A line is drawn to preview curves and smoothing of the Path |
||
|
|
Use these keys to save up to 10 camera Viewpoints in Photo Set 1 in Photo Mode. |
||
|
|
Load previously saved camera Viewpoints. The saved slots are also available as easily accessible thumbnail images in Photo Set 1 in Photo Mode. |
|
|
Hold down this key while placing the mouse cursor on a Color Map slot or NormalMap slot to view the alpha channel of the texture. |
|
|
Hold down this key while dragging points on the red and blue lines to move them more accurately. |
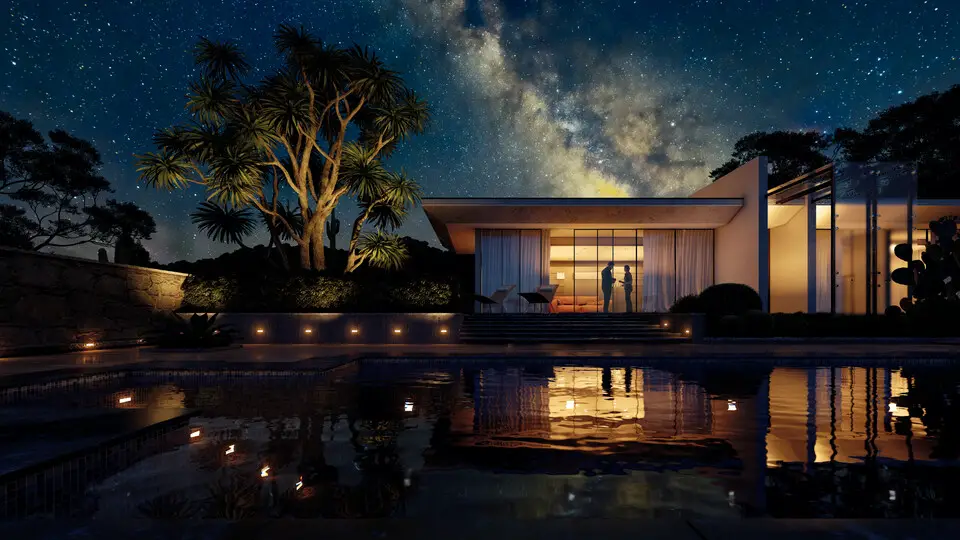





What is your favorite Lumion 10 hotkey? Do you have any useful tips for it? Let other users know below.
1110732 169
499937 8
412106 373
368911 6
308886 6
279294 38
17 hours ago
17 hours ago
17 hours ago Updated!
2 days ago
2 days ago
2 days ago Updated!
Latest articles
Why I use Volume2, and why you would too
<div> has meaning to browsers
How to Turn Write Protection On or Off for a USB Flash Drive
What is a modifier key?
Sync time on Windows startup